
Show Me - How to paint a room
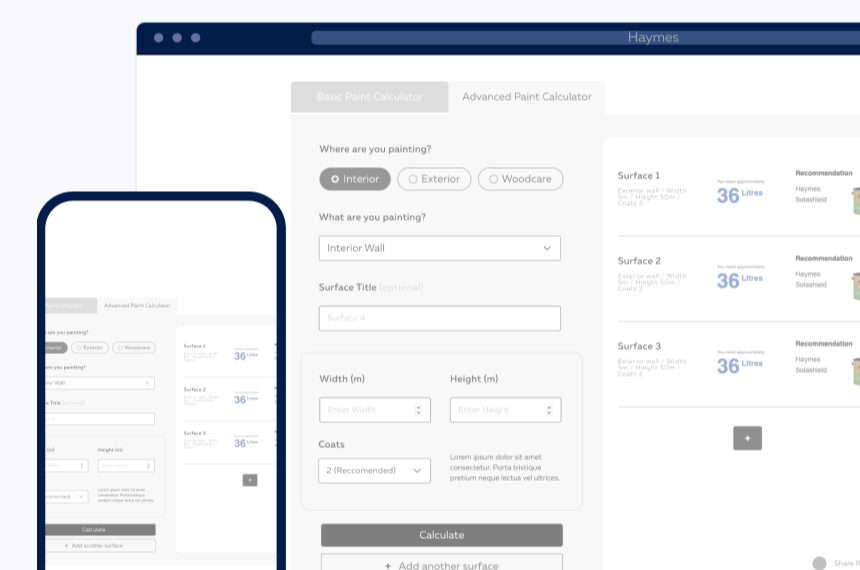
Step 2 - Haymes Paint Calculator
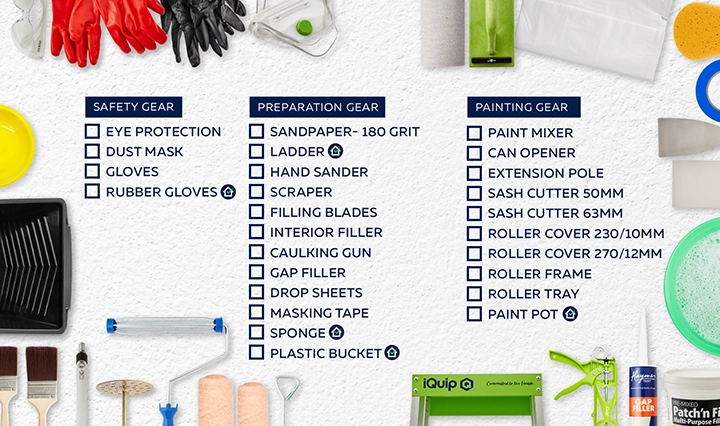
Step 3 - Equipment Checklist
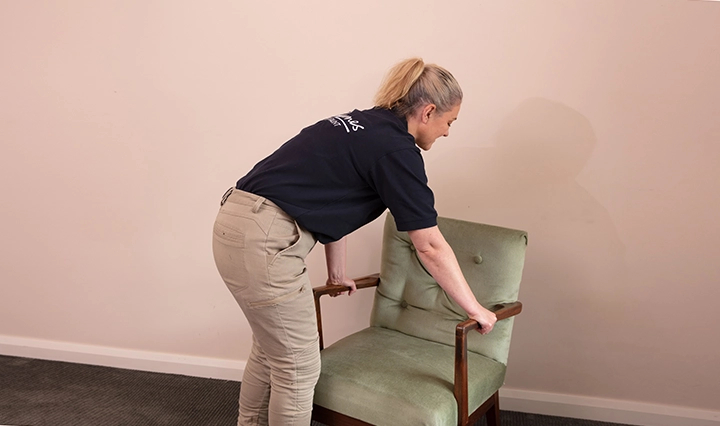
Step 1 - Protect area

Step 2 - Apply painters tape
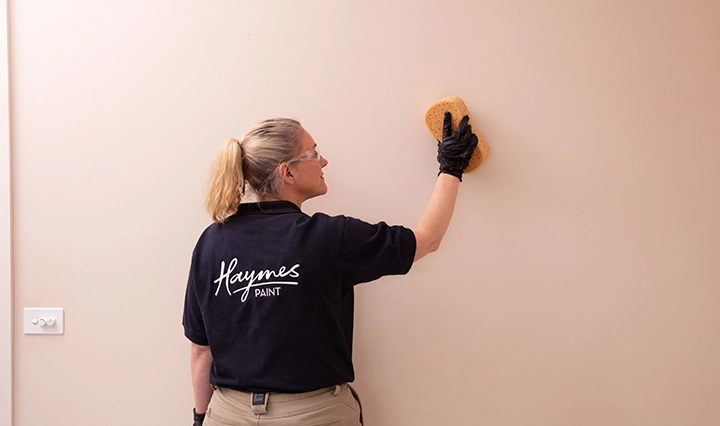
Step 3 - Sugar soap
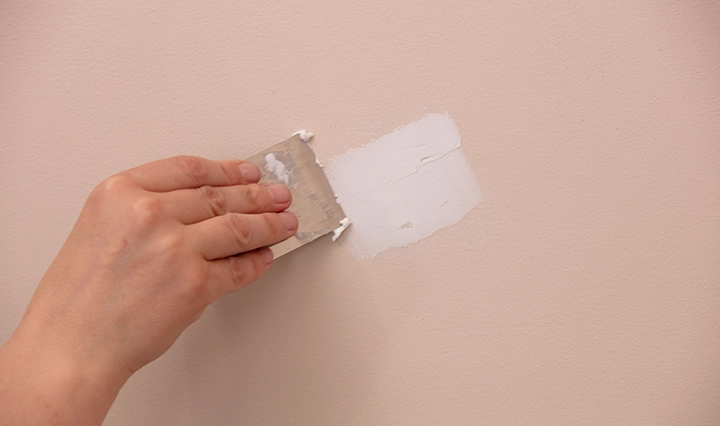
Step 4 - Fill cracks

Step 5 - Spot prime
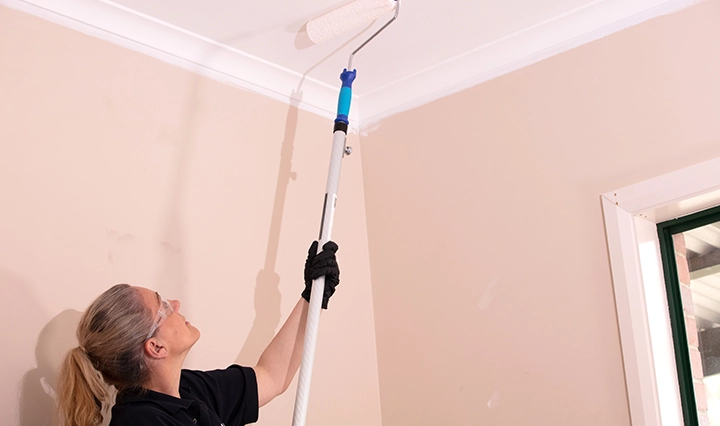
Step 1 - Start from the top
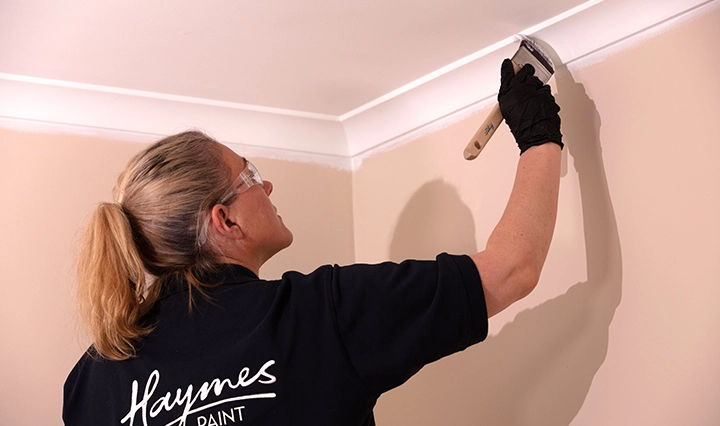
Step 2 - Paint cornice

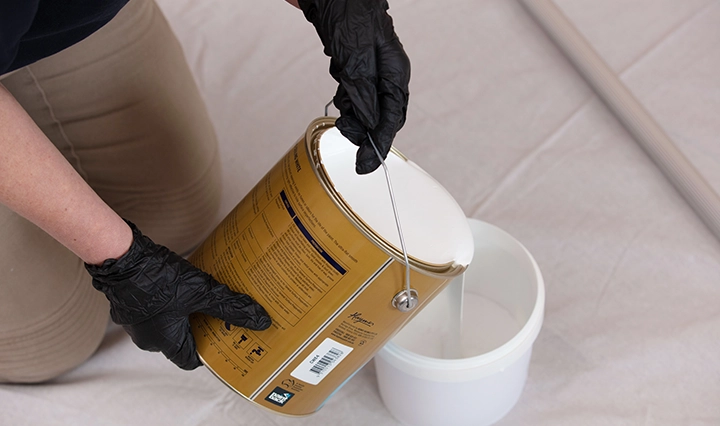
Step 3 - Load roller with paint
Step 4 - Second coat

Step 5 - Painting walls
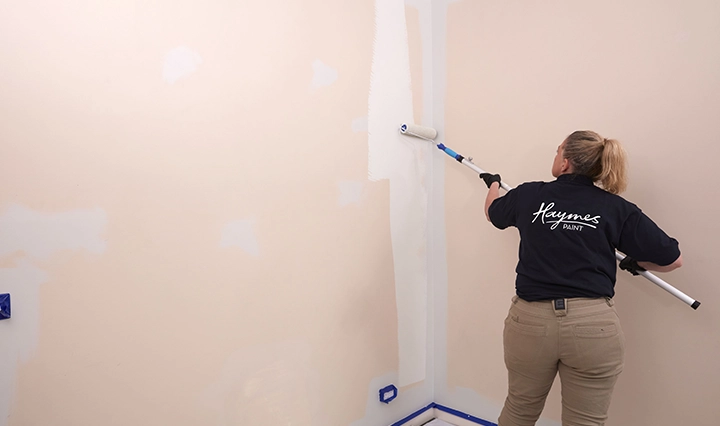
Step 6 - Repeat and reapply
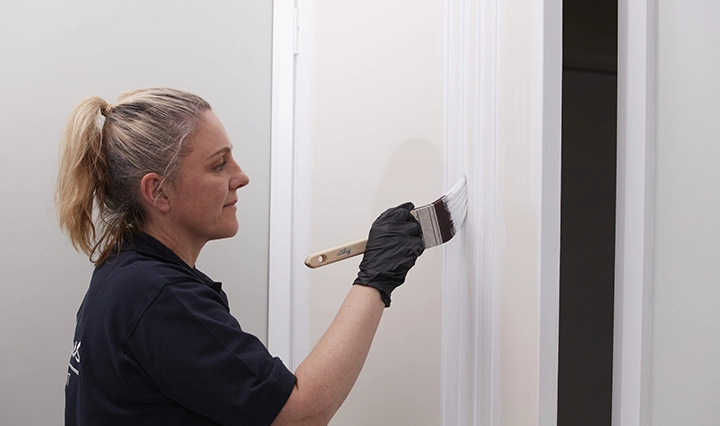
Step 7 - Painting trims
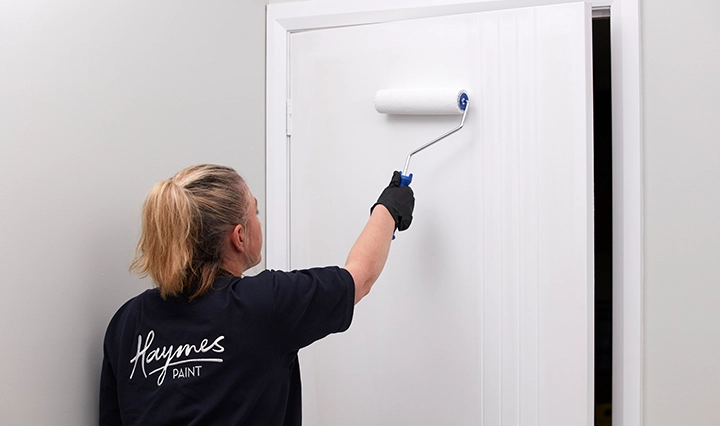
Step 8 - Evenly load roller

Step 9 - Painting windows

Visit us at over 350 stockists across Australia. Expect a wide range of colours, product and standout customer service wherever you go.
Find Now
Shop Online
Shop online for a seamless experience. We make finding your perfect paint product quick and simple – every time.
Shop Now
Sign Up
Sign up to our Brush Up newsletter. Learn tips, tricks and more to get the best results.
Sign Up
Related Posts

Restoring a Historic Residence with Haymes Paint
Nestled in Coorparoo, Queensland, stands a historic gem - a property steeped in history, originally crafted in 1922, boasting intricate high pressed metal ceilings and ornate timber features throughout. Darryl...
Restoring a Historic Residence with Haymes Paint
Nestled in Coorparoo, Queensland, stands a historic gem - a property steeped in history, originally crafted in 1922, boasting intricate...
Read More


Five kitchen upgrades on a budget
Of all the rooms in a home, the kitchen is the heart of the home and is nearly always the space that requires some care and attention. The effects of...
Five kitchen upgrades on a budget
Of all the rooms in a home, the kitchen is the heart of the home and is nearly always the...
Read More

Online Colour Consultation Service
What is an Online colour consultation? The full-colour service, minus the face-to-face consultation. Appointments are via video call or phone call with a consultant who is experienced with colour and...
Online Colour Consultation Service
What is an Online colour consultation? The full-colour service, minus the face-to-face consultation. Appointments are via video call or phone...
Read More


Coast Meets Colour
Beach and coastal homes are often synonymous with bright whites. However, you can live by the coast and infuse colour that feels deeply natural and organic whilst also rich and...
Coast Meets Colour
Beach and coastal homes are often synonymous with bright whites. However, you can live by the coast and infuse colour...
Read More


Elevate Your Home's Entrance: A Palette of Invi...
Your home's front door is more than just an entry point; it's an opportunity to make a memorable first impression. With a carefully curated selection of front door colours, you can easily enhance your home's...
Elevate Your Home's Entrance: A Palette of Inviting Front...
Your home's front door is more than just an entry point; it's an opportunity to make a memorable first impression. With a...
Read More

Colour sampling made easy with curated sample p...
Embarking on a paint project can be an exciting endeavor, but it can also be overwhelming to try and select the perfect hue for your home. That’s why we developed our sample...
Colour sampling made easy with curated sample packs
Embarking on a paint project can be an exciting endeavor, but it can also be overwhelming to try and select...
Read More


Time To Think With Colour
Have you ever walked into a home and felt an immediate cosiness? Colour plays a larger role in your perception of temperature than you may know. For instance, think about...
Time To Think With Colour
Have you ever walked into a home and felt an immediate cosiness? Colour plays a larger role in your perception...
Read More